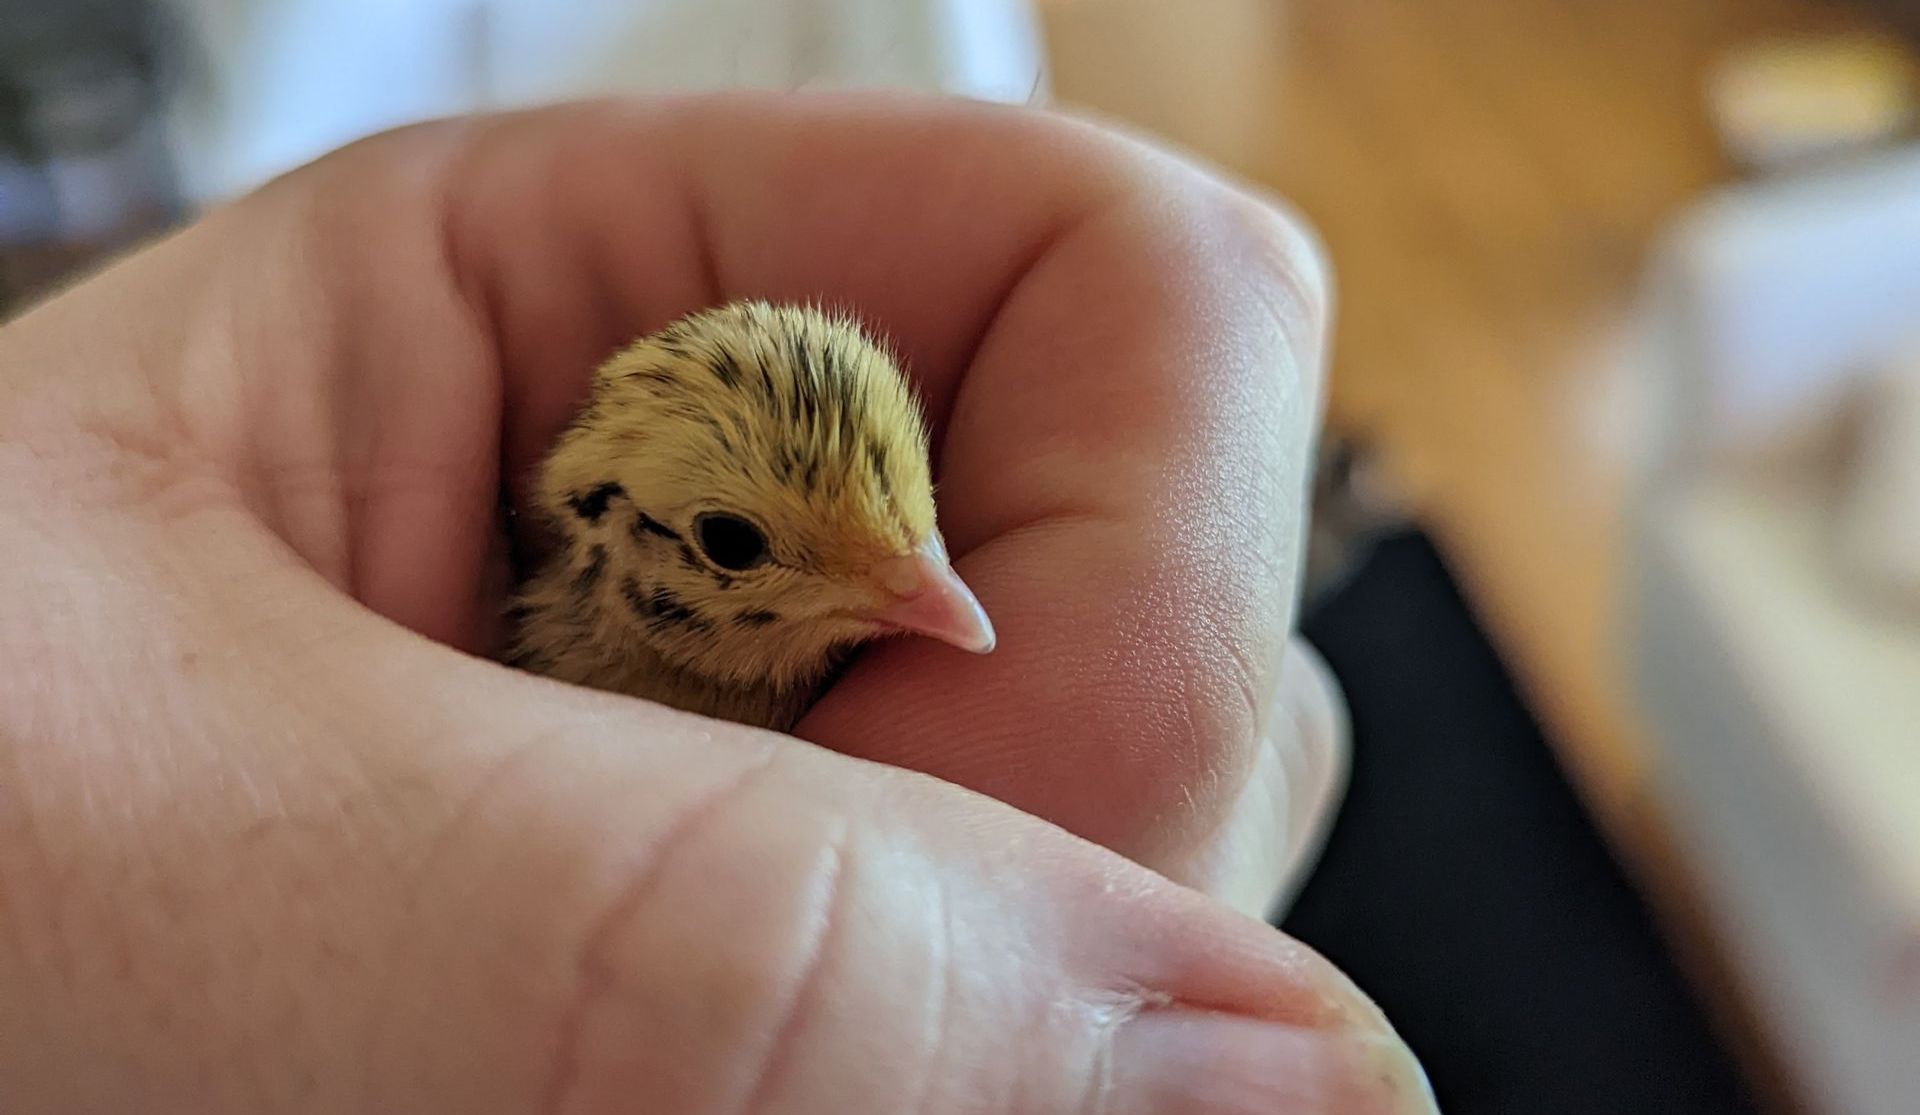
Hatching Quail Chicks
Incubation Instructions

My first experience with quail was through a company called Purely Poultry, which unfortunately is no longer in business. I was able to save their incubation instructions however and those are the basis of what you'll read here.
Step 1 Buy equipment
You'll want an incubator that is made for the type of eggs you're hatching, in this case quail eggs, which are quite small. I have a Jumble Egg Incubator that I bought on Amazon. I has adjustable tray slots for different sized eggs and would work for eggs as large as duck I think. It also has a built in thermostat and hygrometer to measure humidity. I would say that accuracy in temperature and humidity is very important and I don't entirely trust the built in stuff so I bought a Govee digital bluetooth thermometer and hygrometer that I can read from my phone. It sits inside the incubator near the eggs.. I would recommend buying the best incubator you can afford.
Step 2: Get the eggs
Wash your hands thoroughly before and after handling your eggs. If you are collecting eggs from your own birds, be sure to choose eggs that are nice and clean, have no cracks or thin spots in their shells and ones that are evenly shaped and normally sized. Do not wash the eggs as this removes the protective coating and can force bacteria to enter the egg thru the porous shell.
Keep the eggs at room temperature (65-70℉) out of the sun no more than 7 to 10 days. It is common to set eggs for hatching when they are 5-7 days old. Keep them in a cardboard carton with the large side face-up. If you are keeping them more than three days before incubating, shift and turn the eggs once a day. If you ordered hatching eggs through the mail, it is a good practice to let the newly arrived eggs rest at room temperature for about 12-24 hours before starting to incubate them.
Step 3 Set up Equipment to correct temperatures and humidity.
Clean the incubator thoroughly. Place it on a level surface out of direct sunlight, in an area that keeps a consistent room temperature. Start it up and add water to the bottom tray. Let it run for 2-3 days. You want a temperature of 100℉ with an acceptable range of 99.5-100.5℉. Humidity should be set to the 45-55%.
Step 4 Put the eggs in the incubator, turn and monitor regularly.
Once you feel confident that your incubator is working optimally, you can add your eggs.
Mark your calendar for the day you place your eggs in the incubator and the day you need to stop turning them and adjust the humidity, which is 3 days before the end of the incubation time.
The eggs will need to be turned 2-3 times per day. If you do not have an automatic turner, turn them yourself. We recommend that you gently write an X on one side of each egg with a pencil or sharpie marker to keep track of the eggs when turning.
Watch the humidity levels throughout the incubation time. You may either have to add warm water or soak up excess water.
Candling
You can begin candling your eggs after incubating for about a week. Using your
egg candler, or a very bright flashlight, shine the light thru the back side of the egg shining towards you, placing the light almost directly on the surface of the egg, and observe. You are looking for signs of life, which can include blood vessels and a perfectly round air sac at the small end and a large dark mass at the large end. Transparent or a red ring are signs of a failed egg.
Step 5 Hatching Lockdown
Stop turning your eggs or remove from turner about 3 days before the end of the incubation period. Raise the humidity within your incubator to the recommended level by adding warm water. As the chicks hatch,
do not interfere. They may look like they are struggling, but they must get themselves out of the shells without help. Avoid opening the incubator until all the chicks are dry and fluffy as you don't want them to get chilled. Get your brooder ready for the chicks. The hatching process typically takes about 24-hours.
Step 6 Care for your chicks
After hatching see our
Chick Care resource page for helpful information on caring for baby chicks.
Check out our Blog on Avoiding a Failure to Hatch Situation for more information and tips on hatching.
Golden Manchurians are a special color variation of Coturnix Quail, and they are sometimes just simply referred to as Gold Coturnix. The Golden Manchurian is a distinct variety with very light golden coloring. Males are lighter and more solid in color, and females are a bit darker and have more red and brown striping and patterning as well as stripes on the face. These are plump, hardy, and attractive little birds.
The Golden Manchurian coloring was first discovered and bred by Albert Marsh in 1960, a result of a natural mutation in his flock of brown-colored Coturnix Quail. The golden color is a dominant gene, so even when a golden is bred to the brown variations, you will get gold offspring.
Golden Manchurian Coturnix Quail are solid dual-purpose production birds. They can lay over 100 eggs per year beginning at about 6-7 weeks of age. They are also efficient as meat birds, reaching adult size in 6-8 weeks and weighing 3-6 ounces. Coturnix Quail are easy and simple to raise. They do not need much space and are quiet and calm. In many places where chickens may be not allowed or would be too noisy and obtrusive, quail would make a great substitute species.
Prolific eggs, quality meat, quick growth rate, and dependable reproduction make these birds perfect as a small farm enterprise or for a serious homestead. Golden Manchurian Coturnix Quail do well on a game bird or turkey starter feed.
Incubation Time: Golden Manchurian Coturnix Quail Hatching Eggs will hatch in about 18 days.
Temperature/Humidity: Golden Manchurian Eggs will hatch best if incubated at 100 degrees F, decreasing to 98.5 degrees F during the final three days of incubation. Humidity should be kept at 45-55% until day 14 when it should be raised to 55-65% until the chicks hatch. Turning the eggs three times a day for the first 14 days is a solid practice. After day 14, stop turning the eggs.
Special Incubation Notes: Start up your incubator 2-3 days before your eggs are due to arrive. This gives your incubator time to come fully to temperature and to stabilize humidity levels. It is also a good practice to let your newly arrived eggs rest at room temperature for about 12 hours before placing them in an incubator. Place them large side up in a clean and dry egg carton. Incubators should be kept in a room with a constant even temperature and out of the sun.
Days to Incubate
21
28
21
Geese (domestic)
28-34
28-30
23
Ducks (domestic)
28
23
17
24
28
22
23
16-18
Quail Care
Quail are a classic game bird raised for hunting and sport, for release purposes, and for food production. In captivity, these birds can live 5-6 years in optimal conditions.
Shopping List: Brooder Supplies: Waterer, feeder, heat lamp reflector, heat bulb, kiln dried pine shavings, paper towels, electrolytes and vitamins, thermometer, draft-free enclosure, coop or other safe housing, and gamebird feed. For beginners, we offer the quail-specific chick starter kit that includes everything you need to get started.
Suggested Reading
At the Post Office: Promptly pick up your package and take your quail to their new home. If you ordered chicks, get them under the heat lamp as soon as possible.
Live Guarantee: We guarantee live arrival of all quail upon arrival to your post office. Loss must be reported within 24 hours of that arrival. Please see our full policy HERE
Brooder Requirements: Young quail chicks are small and delicate and need a proper draft-free brooding setup. Provide .25 square foot per chick of brooder space. Increase the size as they grow. Quail chicks will need a secure surface to walk on for proper leg development. An old terry cloth towel or paper towels work well. Newspaper is too slippery. For older chicks, pine shavings are ideal.
Temperature: You will need a heat lamp for your chicks. Start your chicks off at 100 degrees for the first two weeks, which is a bit warmer than your average chick. Raise the heat lamp in order to drop the temperature a few degrees every other day until the internal temperature matches the outside ambient air temp, or they've reached about 4 weeks of age. It's important to watch how your quail chicks respond to the temperature of the lamp; huddling under the bright indicates they're likely cold and huddling in shaded areas away from the heat lamp will indicate they are too warm. Adjust the height as necessary to allow the chicks to be comfortable enough to run freely throughout the brooder space. Keep a thermometer in a lightweight sandwich bag at the bottom of the brooder to monitor the temperature. Note: Quail chicks tend to pile when they sleep at night if they are too cold, and this can lead to crushing of the chicks on the bottom.
Feed: Feed quail chicks a high-quality game bird or turkey starter feed for the first six weeks that contains 24% protein. Transition to a breeder feed at 6-7 weeks and remember to always have feed available to your chicks. For the first few days, place the feed on paper towel next to their feeder so they can find it. Add boiled and chopped egg yolk on top of the feed to encourage them to eat. After they are eating well, you can put the feed in the feeder. Older quail can start on a grower or breeder feed.
Water: Use a special quail base on your waterer while your chicks are young as they can fall into a standard base and chill or drown. As soon as you get your chicks into the brooder, immediately dip their beaks in water to teach them how to drink. All quail need to have access to clean drinking water at all times. Warm water is important as cold water can shock and chill the birds.
Juvenile or Adult care: After getting your quail home from the post office, set the closed box in your aviary or enclosure for an hour or so and let the birds calm down and relax. It is important to release your new birds in as quiet and dark of an environment as possible. Provide a high-quality game bird or turkey grower feed and fresh water at all times. Your older quail will not need a brooder or heat lamp.
Housing: There are many housing options for adult quail. People usually raise them either in large open flight pens or cages. It is best not to raise them in the same coop as chickens. Bobwhite quail need about 1 square foot per bird to reduce aggression. Coturnix are more domesticated and do fine with a bit less.
Quail are small and sleep on the ground which makes them susceptible to predation. Flight pens will need to be secure. We recommend 1/2 inch hardware cloth. Provide a solid enclosed area at night to be extra safe. Quail like to run so design cages to be longer rather than wider. They also tend to fly or flush straight up if startled. Designing cages with soft tops (like netting) so they avoid crashing into the hard roof. You could also design your cages to be 2 feet high or less, where the quail won't have the space to build up enough speed to crash and cause harm.
Practice good husbandry. Disease and parasites can become an issue if the quail have too much exposure to their waste. Wire floors are the cleanest option. Quail do like to dig and to nestle down in bedding when sleeping, and they clean themselves by taking dust or sand baths. Providing your quail a box with sand or shavings would make them more comfortable.
Safe Handling of Poultry: After handling poultry, wash your hands with soap and warm water. Do not let young children, elderly persons, or people with weak immune systems handle or touch live poultry. Do not snuggle or kiss your birds. You can contract salmonella from touching live fowl. Your birds can carry salmonella and still appear healthy and clean. Regularly clean and sanitize your poultry equipment.
Texas A and M Quail are a large breed. They are the result of selectively bred quail and are bred especially for meat production. Texas A&M quail produce a light-skinned, light meat quail. It takes 8 weeks to bring them to butcher weight, which is about 10-14 oz birds. They are very easy to clean.
The meat of Texas A & M Quail is light and tender and is ready to butcher at approximately eight weeks. Quail hens begin laying eggs very early in life, and the eggs are delicious and highly nutritious. One of the biggest reasons to choose quail is because even a city-dweller can have quail. Quail males are acceptable, as they don't make quite the racket a rooster does. Your day-old baby quail chicks will be shipped via the U.S.Postal Service, ready for your prepared brooder.
Housing Requirements: The baby chicks need a covered, ventilated brooder. This can be inexpensively purchased, or one can be fashioned out of a box. Any container that is large enough to house chicks and protect them from drafts will be fine. The easiest bedding is to simply lay a towel on the bottom. They will need a heat lamp with a red bulb as chicks are unable to regulate their body temperatures very well.
Diet: Feed chicks game bird or turkey starter. This is what they will eat this their entire lives, although as they get older, you may introduce very small amounts of vegetable matter. Allow the quail to eat as much as they like as they have no problem self-regulating, eating only when they are hungry. If you want your birds to produce organic eggs and meat, be sure to feed them organically, and do not give them the medicated feed. As with all animals, give them fresh clean water daily, preferably in a jar feeder system that allows more than one bird to be able to drink at a time. Dip their beaks once when you first get them so they know where to find them.
Breeding: If you want to breed your quail, choose the eggs of your largest birds to incubate.
Weight: A newborn quail weighs less than an ounce, but grows very quickly to 10-14 ounces in adulthood.
Miscellaneous Notes: Quail males have a unique call. Quail eggs have 4-5 times the nutrients of chicken eggs and don't usually cause allergies.


